Your restaurant menu serves as more than a listing of dishes—it’s the ultimate marketing brochure that showcases your culinary idea to every customer. A well-designed, high-quality printed menu communicates your brand’s personality while strategically presenting appetizers, entrees, and other menu items. The best size and format for your menu depends on your restaurant type and dining experience, whether you prefer custom menus with many pages or simple inserts for specials. As restaurant experts recommend, investing in professional menu design and printing is one of the most cost-effective marketing strategies available to food businesses. This guide explores everything from paper selection to design psychology to help you create menus that drive profits and enhance customer experience.
Your menu creates a crucial first impression that shapes how customers perceive your restaurant before they taste a single bite. Quality menu printing builds brand trust and elevates the perceived value of your dishes. Studies reveal that customers associate premium menu design with better food quality and are willing to pay more when presented with a professional menu.
Think of menus as silent salespeople working at every table. They highlight your most profitable items, guide ordering decisions from appetizers through entrees, and reflect your restaurant’s personality. A strategically designed menu can increase your profit margin by up to 15% simply by positioning high-margin dishes where they’ll catch the customer’s eye. Menu design is not merely about listing what you offer – it’s about menu engineering that subtly influences customer choices while reinforcing your brand identity. Whether physical or digital, your menu’s presentation directly impacts both customer experience and your bottom line.
Before sending your menu to print, careful planning is essential. From choosing between standard and specialty formats to selecting the right paper and design elements, each decision impacts how customers perceive your offerings. These preparations ensure your menu effectively showcases your cuisine while maximizing profitability.
Restaurant menus come in various formats, each serving different purposes within your establishment:
Traditional bound or laminated booklets showcase your full food offerings. These permanent menus typically include breakfast, lunch, and dinner options, though many restaurants opt for separate menus for each service period.
These focus on specific offerings: drink menus highlight cocktails and beverages, while dessert menus feature sweet temptations. Wine lists often receive special treatment with elegant paper and sophisticated design to enhance the premium feel.
Digital menus have gained tremendous popularity, especially following the pandemic. As explained on Menubly’s website, “A digital menu is an online version of your traditional paper menu that customers can easily access on their smartphones.” Digital options offer easy updates and interactive features that printed versions can’t match.
These require special consideration, as they need to withstand handling and travel. These often feature more durable paper stock and compact designs that fit standard mailing dimensions.
Seasonal or promotional menus typically use lighter weight paper since they won’t need to endure daily use for extended periods, while permanent menus require durable materials that withstand constant handling.
Effective menu design influences purchasing decisions and enhances customer experience:
Organize content into logical sections, with categories and headings that guide the customer’s eye through your offerings. The components of a menu should flow naturally, making navigation intuitive.
Choose clear, legible fonts and avoid decorative script text that might frustrate hungry patrons. Use font size variations to create visual interest and emphasize special items, but ensure that even smaller text remains easily readable in dimly lit settings.
Strategic use of white space prevents your menu from feeling cluttered. Allow breathing room between sections and items to enhance readability and create a more sophisticated impression.
Research shows that customers typically scan menus in a predictable pattern, with high-attention areas in the upper right corner of the menu and center. Place your most profitable items in these “sweet spots” to maximize sales.
Maintain consistent branding across all your marketing collateral, including your menu. Your logo, color scheme, and overall aesthetic should align with your restaurant’s personality and dining experience.
Paper selection dramatically impacts both the look and longevity of your printed menus:
Restaurant menus typically range from 80lb to 130lb stock, with heavier weights conveying premium quality and offering better durability for daily handling.
Glossy paper creates vibrant, eye-catching menus that highlight food images but can produce glare under bright lighting. Matte finishes reduce glare and create a more sophisticated, understated look preferred by upscale establishments.
Coated papers resist stains and moisture better than uncoated options, making them ideal for busy establishments. For maximum protection, consider laminated options that extend menu lifespan.
Made from plastic or vinyl compounds, these offer excellent durability but at a higher initial cost—though they may yield savings over time by reducing replacement frequency.
Recycled papers, papers made from alternative fibers (like bamboo or hemp), and FSC-certified stocks allow you to align your printing choices with environmentally conscious values.
Two primary printing methods dominate the restaurant menu space:
Offers quick turnaround times and cost-effective production for small batches—ideal for restaurants that update their menu frequently or need only one or two dozen copies at a time.
While requiring longer lead times and higher setup fees, offset printing delivers superior color reproduction and print quality. This method is best for large print runs (typically 500+ menus).
Typical turnaround times vary by method and provider. Digital printing can often be completed within 24-48 hours, while offset printing usually requires 5-7 business days due to plate setup and drying time. Rush services are available but typically incur premium charges of 25-50% above standard rates.
Choose digital printing when you need quick menu updates, have a limited budget, or want to test different designs before committing to a large run. Opt for offset when print quality is paramount, particularly for high-end establishments where image reproduction must be flawless.
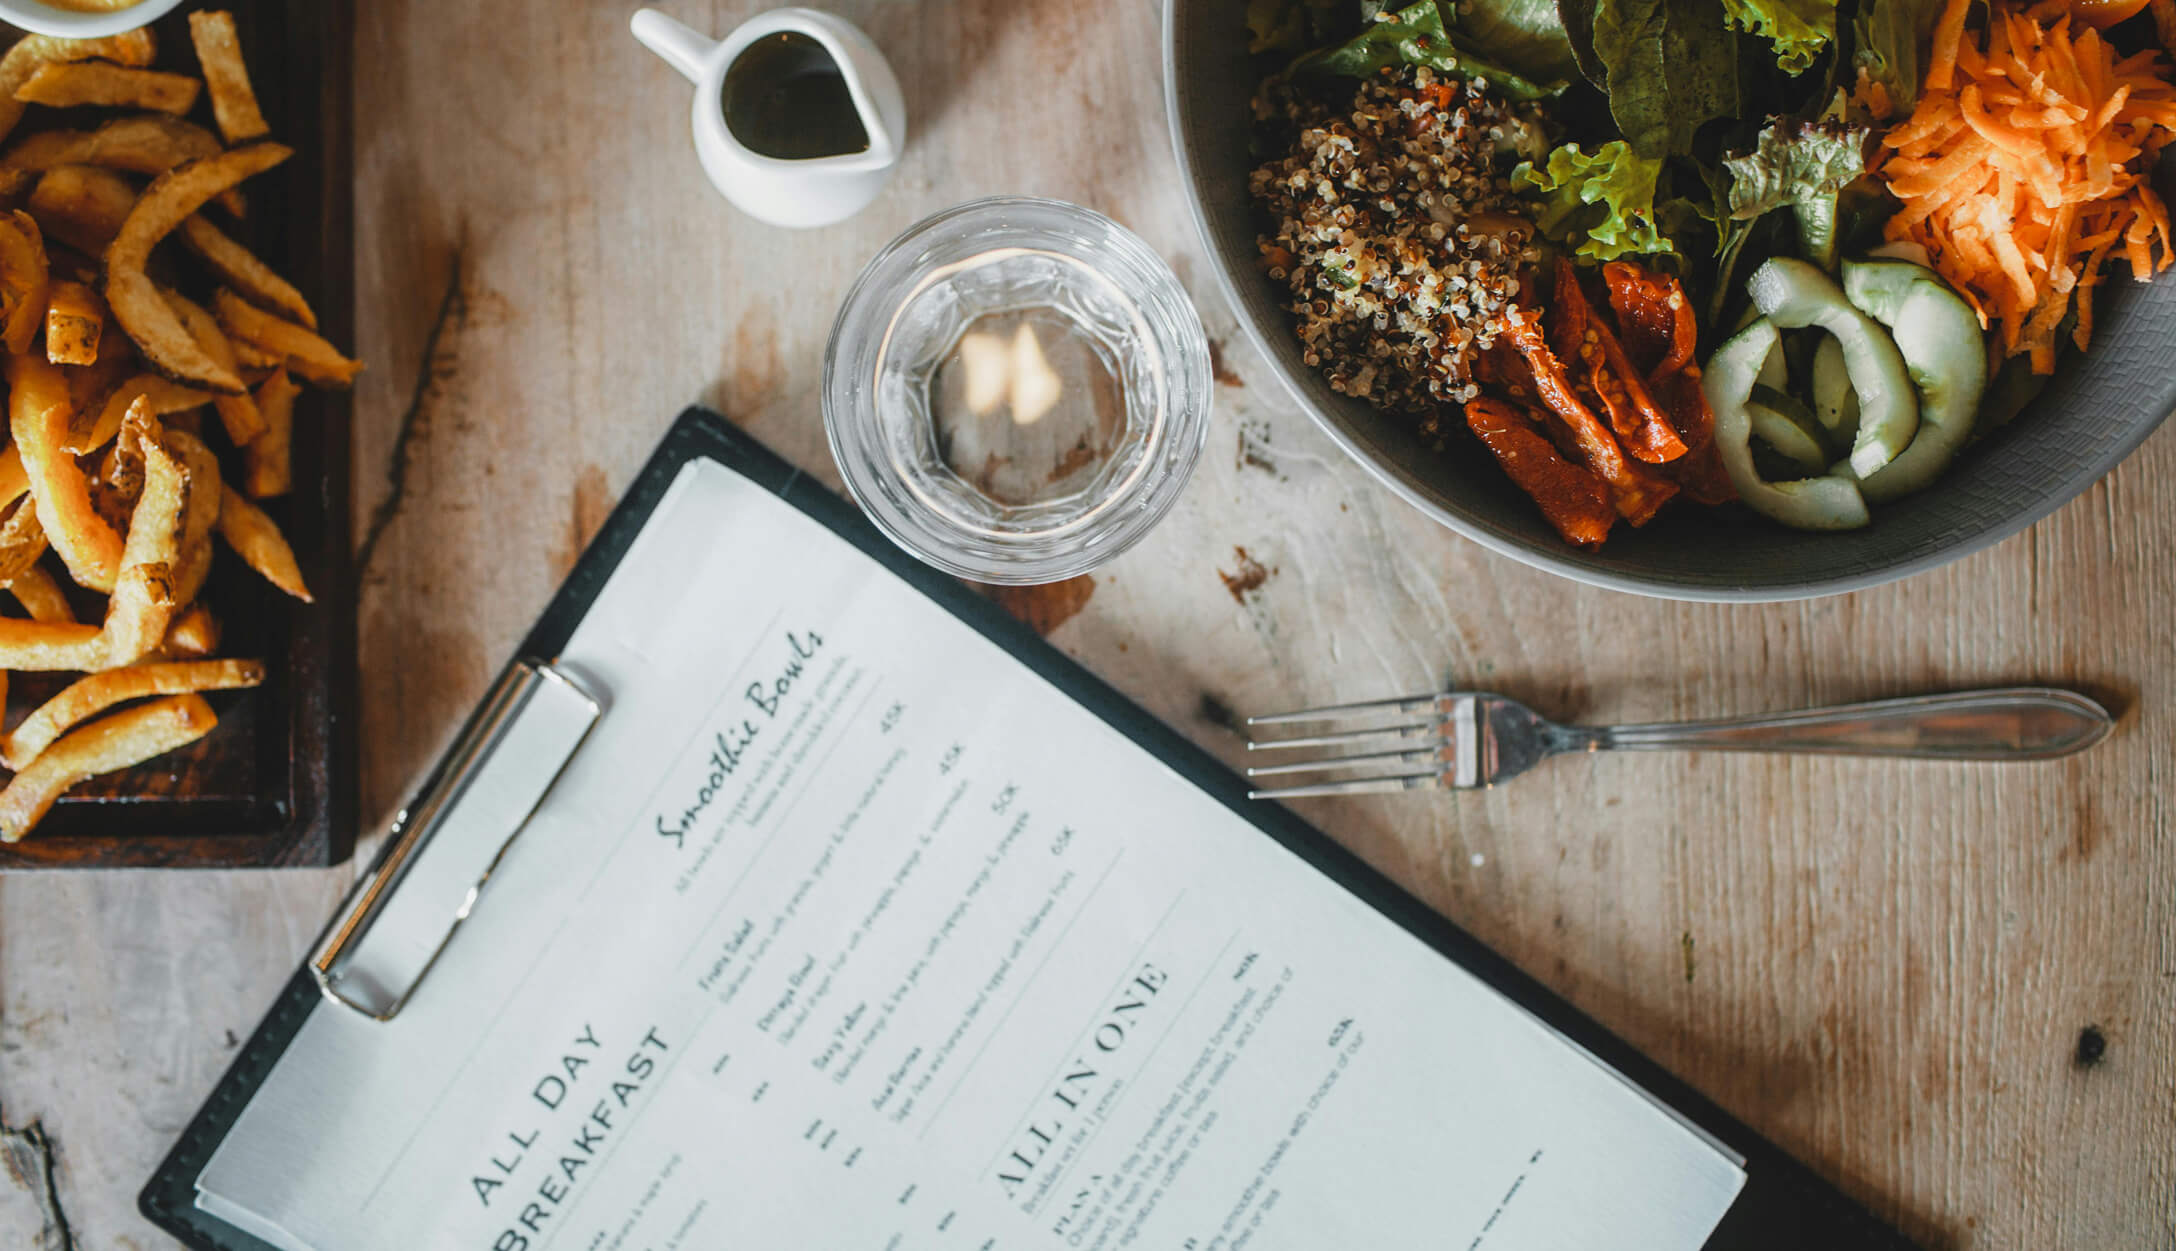
Professional food photography dramatically enhances your menu’s appeal. When shooting food for your menu, use natural lighting whenever possible and avoid flash photography, which can create harsh shadows and unappetizing reflections. Consider hiring a professional food photographer for key signature dishes – the investment will pay dividends in increased orders.
Menu photography also involves understanding color psychology. Warm colors like red and orange stimulate appetite and create a sense of urgency, while blues and purples tend to suppress hunger—one reason you rarely see blue as a dominant menu color. Strategic use of contrast draws attention to featured items and creates visual interest.
When preparing images for print, ensure they’re in CMYK color mode rather than RGB. Computer screens display colors in RGB, but printing uses CMYK, and failing to convert can result in significant color shifts. Always request a physical proof before approving a full print run to ensure color accuracy and catch any issues before committing to large quantities.
After designing your menu, proper finishing techniques, maintenance practices, and budget-conscious decisions ensure longevity and cost-effectiveness. These final considerations help maximize your menu’s impact while managing your restaurant’s resources efficiently.
Professional finishing elevates your menu’s appearance and durability:
Provides essential protection for frequently handled menus, shielding paper from spills, stains, and oils. This durable finish allows for easy cleaning and significantly extends menu lifespan.
Make your menu instantly recognizable and memorable. From rounded corners to completely custom outlines that reflect your restaurant’s theme, these special touches elevate your menu from functional to extraordinary.
Bi-fold menus create a simple booklet feel, while tri-fold layouts work well for takeout menus or drink lists. Accordion folds allow for extensive content in a compact format, particularly useful for wine lists or specialty offerings.
These techniques add tactile and visual dimension to logos or special features on your menu, creating an impression of luxury that can justify higher price points for your dishes.
In-house menu printing works well for temporary insertions, daily specials, or seasonal items that change frequently. Modern color printers can produce acceptable quality for short-term use, particularly when using pre-designed templates and quality paper.
However, professional printing services deliver superior results for your main menu. The benefits include better color reproduction, more durable finishes, and access to premium papers and binding options not available to most restaurants. Online printing services offer competitive rates, while local printers provide personalized service and faster turnaround.
Cost comparisons favor DIY for small runs or temporary menus, with per-menu costs ranging from $0.50-$2 depending on complexity. Professional services typically range from $2-$10 per menu for standard options, with premium features like custom dies or specialty papers pushing costs higher.
Design tools like Canva offer user-friendly templates for DIY designers, while Adobe Creative Suite provides professional-grade capabilities for those with design experience. For most restaurants, the ideal approach combines professional design and printing for permanent menus with in-house capabilities for temporary updates.
Regular menu maintenance preserves appearance and extends lifespan. Clean laminated menus daily with a mild sanitizing solution and soft cloth, avoiding abrasive cleaners that can cloud the finish. Address spills immediately to prevent staining.
Store menus flat when not in use to prevent warping or creasing. Stacking heavy objects on menus can damage bindings and crease pages, particularly with higher-quality paper stocks.
Establish a regular reprint schedule, typically every 3-6 months for heavily used menus or whenever significant menu changes occur. This ensures menus always look fresh and reflect your current offerings accurately.
Maintain updated digital files of your menu design to ensure consistency across reprints and different menu formats. This practice also facilitates quick updates when prices change or new items are added, saving design time and ensuring brand continuity.
Tailor your menu materials to your specific dining setting:
Outdoor seating areas demand waterproof material that can withstand humidity, occasional rain, and intense sunlight without fading. UV-resistant inks and synthetic papers are worth the investment for patio service.
Benefit from disposable paper menus or durable, wipeable options that can handle high-volume service. Single-sheet designs minimize costs while providing necessary information in limited spaces.
Often features booklet-style menus with thick card stock, elegant typography, and minimal imagery to create a sophisticated, uncluttered appearance. The physical weight and texture of these menus communicate quality before the first dish arrives.
Call for single-use, economical paper options that can be produced in limited quantities without significant investment. These menus can still maintain brand consistency through design elements while using more affordable printing methods.
Stretch your menu printing budget without sacrificing quality by implementing smart strategies.
Order in bulk whenever possible, as per-unit costs drop significantly with larger quantities. Many printers offer 30-50% discounts when doubling order size.
Consider limiting full-color printing to covers or feature pages while using one or two colors for interior pages. This hybrid approach reduces ink costs while maintaining visual impact where it matters most.
Stick with standard sizes (8.5×11″, 11×17″ folded, etc.) to avoid custom cutting fees and make use of pre-existing templates. Custom sizes not only increase initial printing costs but often require custom envelopes or holders as well.
Maximize efficiency by printing on both sides of each page, reducing paper costs and creating a more compact menu.
Develop reusable seasonal templates that allow you to change content while maintaining design elements, reducing design fees for quarterly or seasonal updates.
Avoid these costly errors in your menu production:
Not only necessitate reprinting but damage your professional image. Have multiple people proofread before approving the final design, paying special attention to dish descriptions and prices.
Can result in important text being cut off during the finishing process. Always maintain a safety margin of at least 0.25″ from the edge for all critical content.
Particularly decorative scripts or very small type, frustrate customers and slow down ordering. Test readability in actual restaurant lighting conditions before finalizing your design.
Overwhelming menus with too much text create information overload, leading to decision paralysis and slower table turnover. Focus on concise, appetizing menu descriptions that highlight key ingredients and preparation methods.
Creates confusion and potentially awkward situations when the printed price differs from what customers are charged. Double-check all pricing before printing and ensure your point-of-sale system matches exactly what’s on the menu.
For most full-service restaurants, 100lb cover stock with gloss or matte lamination offers the ideal balance of durability and quality. Fine dining establishments might prefer 130lb stock with soft-touch lamination for a premium feel, while casual eateries can use 80lb text weight with standard lamination.
Permanent menus should be reprinted every 3-6 months in busy establishments or whenever they show visible wear. Menu analysis should be conducted regularly to identify opportunities for menu engineering and price adjustments, which may necessitate reprinting. With digital alternatives, menu updates can be made instantly without reprinting costs.
Online printing services typically offer the most economical rates for standard menu printing. Maximize savings by ordering in bulk, using standard sizes, limiting full-color pages, and avoiding specialty finishes like foil stamping or embossing. For the most budget-friendly approach, consider a digital menu solution like Menubly, which eliminates printing costs entirely.
Yes! Canva offers numerous free and paid restaurant menu templates that are easily customizable even without design experience. The platform includes restaurant-specific layouts, food-friendly fonts, and high-quality stock images. For best results, export your design as a print-ready PDF with proper resolution (300dpi) and color mode (CMYK) before sending to a professional printer.
Absolutely! QR code menus bridge the gap between print and digital, allowing customers to access additional information, online ordering options, or your restaurant’s social media platforms. According to Menubly, “QR code digital menu fundamentally transforms the ordering process, offering a ‘constantly available’ menu right on the table, so your customers don’t have to wait for a server to bring a paper menu.” This hybrid approach combines the tactile experience of physical menus with the convenience and flexibility of digital solutions.
The perfect menu balances aesthetics, functionality, and marketing strategy to enhance your restaurant’s brand while driving profitability. Whether you choose traditional printed menus, modern digital alternatives, or a hybrid approach combining both, thoughtful design and quality execution are essential investments in your business’s success. Remember that your menu is often the first detailed impression customers have of your culinary vision—make it count. By applying these menu design and printing tips, you’ll create a powerful marketing tool that delights customers, streamlines ordering, and ultimately contributes to your restaurant’s long-term prosperity. The care you put into your menu reflects the care you put into your food and service.