In today’s digital-first restaurant industry, menu photography has become a crucial element of success. As more restaurants transition to digital menus and online ordering systems, the quality of your food photography can make or break your customer’s first impression. Whether you’re showcasing dishes on your restaurant’s menu or updating your restaurant’s social media accounts, professional-looking photos are essential for attracting new customers and driving sales. With platforms like Menubly making it easier than ever to create and update digital menus, understanding how to capture appetizing photos of your menu items has never been more important.
Menu photography is the art of capturing dishes in their most appetizing form to entice diners and showcase your restaurant’s offerings. It goes beyond simple food photography by focusing specifically on presenting menu items in a way that drives ordering decisions.
In the age of digital menus and online ordering, menu photography has evolved to meet the demands of both digital and print platforms, requiring careful attention to lighting, composition, and styling to create mouthwatering images that accurately represent your dishes.
The importance of menu photography cannot be overstated in today’s visual-first dining culture. Studies show that restaurants using professional food photography on their menus see an average increase of 30% in item sales compared to those using text-only menus. This impact is even more pronounced in the digital space, where customers rely heavily on visual cues to make ordering decisions.
Consider the case of La Piazza Restaurant, which saw a 45% increase in online orders after updating their online menu with professional food photography. Similarly, Cloud Kitchen Concepts reported that menu items with professional photos consistently outsold non-photographed items by a margin of 3 to 1.
When integrated with modern digital menu platforms like Menubly, high-quality food photography can transform your menu engineering strategy, helping to highlight high-margin items and boost overall sales.
Credit: How to shoot food photography youtube video
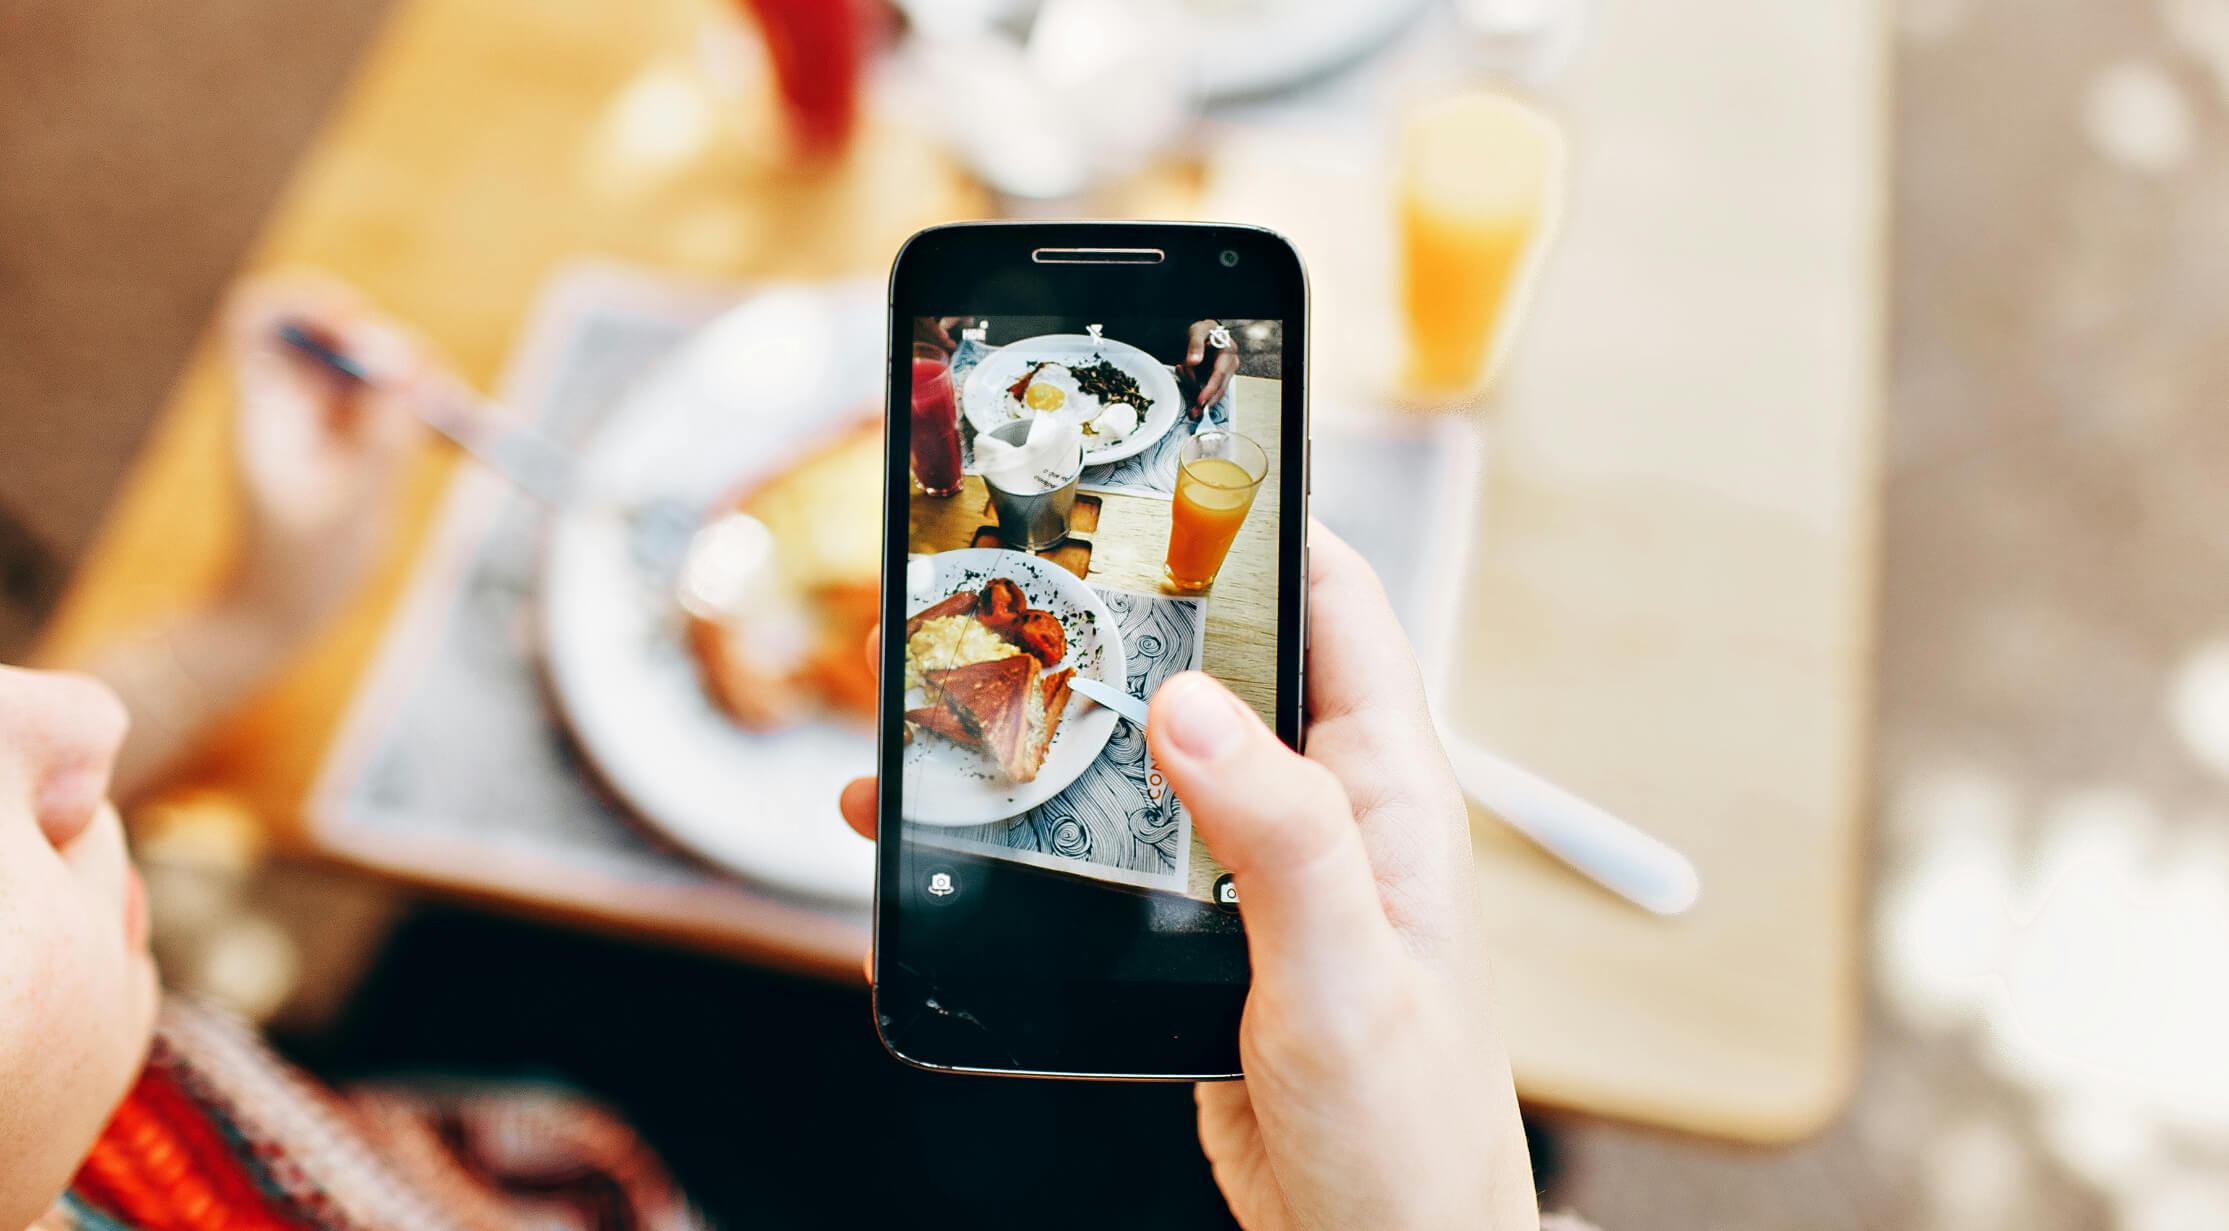
When it comes to capturing appetizing menu photos, having the right equipment makes all the difference. Let’s explore the essential tools you’ll need for professional-quality shots.
DSLR and Mirrorless Cameras
For professional menu photography, a quality DSLR or mirrorless camera offers superior control and image quality. Popular options include:
Smartphone Photography
Don’t worry if you can’t get professional equipment right away. Modern smartphones can capture impressive menu photos when used correctly. Both iPhone and Android flagship devices offer:
Natural light near a window provides the best light source for most menu photos. However, you’ll want to have these basics on hand:
The right props and backgrounds can enhance your food’s visual appeal without creating distraction:
While good equipment helps, technique and lighting conditions matter more than expensive gear. Focus on mastering the basics with whatever tools you have available.
One of the most popular challenges in menu photography is mastering your camera settings. When taking appetizing photos of your dishes, proper technical settings form the foundation of professional-looking results.
Here’s what you need to know:
Shutter Speed & Motion:
Aperture & Focus: Create stunning depth of field to make your photos stand out:
Learn more about menu categories to understand the best angles for different dishes. While a bird’s eye view works wonderfully for salads and flat plates, elevated angles better highlight layered dishes and their key elements. Consider how each angle showcases your food’s most appealing aspects.
Natural light remains the gold standard for food photography, offering the most flattering and authentic representation of your dishes. Position your setup near a window where diffuse light can create softer shadows and highlight the true colors of the food.
When natural light isn’t available, you can also try artificial lighting solutions. Professional LED panels provide consistent illumination throughout your shoot. Use diffusion screens to create softer light that wraps around your dishes beautifully. Strategic placement of reflectors helps fill in dark areas and ensure even lighting across your composition.
Enhance menu descriptions with perfectly lit shots by paying attention to the direction of your light source. Side lighting often creates appealing shadows that highlight texture, while front lighting can eliminate shadows entirely – useful for certain types of dishes.
The art of food styling transforms an ordinary menu photoshoot into a visual feast that entices customers. Understanding menu psychology helps create images that not only look beautiful but also drive ordering decisions.
Professional food styling begins with thoughtful plating. Each element on the plate should have a purpose, from the main dish to the smallest garnish. When plating soups, add fresh herbs or a drizzle of cream to create visual interest. For salads, build height and texture by layering ingredients rather than mixing everything together. Consider how toppings can add pops of color and dimension to monochromatic dishes.
While the food is your star, the supporting elements matter just as much. You don’t need an extensive prop collection – sometimes the simplest setups create the most striking images. Start with clean, classic white plates that frame your food without competing for attention. Then, consider adding one or two key elements that enhance the story of your dish, such as a rustic wooden table surface or a carefully placed utensil.
The colors of the food should always take center stage in your composition. Use contrasting elements strategically – a dark plate can make colorful ingredients pop, while a light plate helps rich, deep-colored dishes stand out. Fresh herbs not only add flavor but provide beautiful green accents that make dishes more appealing. For monochromatic dishes like soups or fried chicken, consider adding colorful garnishes that complement both the dish and your restaurant’s branding.
The final touch in food styling is creating visual balance. Use negative space intentionally to draw attention to the most important elements of your dish. Consider how the eye will flow through the image – leading lines created by utensils or sauce drizzles can guide viewers through your composition. Remember that sometimes less is more; you don’t need to fill every inch of the frame to create an impactful image.
After capturing your menu photoshoot, thoughtful editing can transform good photos into great ones. The key is enhancing your images while maintaining authenticity and appetizing appeal.
Start with fundamental adjustments to make your photos shine. Fine-tune brightness and contrast to ensure dishes look fresh and inviting. Color correction helps maintain accurate food representation – especially important for showcasing the true colors of fresh ingredients. When working with monochromatic dishes, subtle adjustments to vibrancy can make them more appealing without looking artificial.
Improve your menu engineering by developing a consistent editing style across all photos. Apply filters with a light touch, focusing on enhancements that make dishes look natural yet enticing. This consistency helps build a professional, cohesive look for your digital menu.
When you’re ready to upload your edited photos, optimize them for their intended use. Whether you’re updating your digital menu or preparing content for promotion, proper sizing and compression ensure fast loading times while maintaining image quality. Remember, the goal is to create visually appealing images that accurately represent your dishes and drive customer interest.
Drawing from Adobe’s extensive expertise in food photography and visual content creation, these professional tips will help elevate your menu photography from basic to exceptional.
Credit: 10 Food photography tips youtube video
Once you’ve captured stunning photos of your dishes, you’ll need an effective platform to display them. Menubly’s digital menu solution makes it easy to showcase your food photography in an interactive, user-friendly format. You can upload and update your menu photos instantly, ensuring your visual content stays fresh and engaging.
The platform’s built-in online menu feature allows you to create a beautiful, interactive experience where customers can browse your photographed dishes with ease. Each photo can be accompanied by detailed descriptions, prices, and dietary information, maximizing the impact of your food photography investment.
Whether you’re using QR codes for in-restaurant viewing or sharing your digital menu on social media, Menubly helps ensure your carefully crafted food photos look professional and appetizing across all devices. This seamless integration of photography and technology helps turn browsers into customers.
How to photograph food professionally for my menu?
Start with good lighting and proper equipment. One key to photographing food professionally is using natural light whenever possible to avoid harsh shadows. When you’re using artificial light, please diffuse it properly. Professional photographers also recommend investing in a good camera and lens, though modern smartphones can also produce excellent results.
What editing software should I use for menu photos?
Adobe Lightroom is the industry standard for food photography editing. It offers powerful tools for adjusting colors, exposure, and saturation while maintaining a natural look. You can also use Photoshop for more detailed retouching, though be careful not to over-edit. There’s nothing wrong with making basic adjustments, but keep your food looking authentic.
Should I hire a professional food photographer?
While you can take quality photos yourself, a professional photographer brings expertise in lighting, composition, and styling that can elevate your menu’s appeal. Consider hiring a professional for key menu items or signature dishes.
What camera settings work best for menu photography?
When photographing food, use a wide aperture (f/2.8-f/4) for individual dishes to create beautiful background blur. Also use a fast shutter speed to freeze any steam or motion. For overhead shots of multiple dishes, switch to f/8-f/11 to keep everything in focus.
How do I maintain consistency across all my menu photos?
Develop a style guide for your menu photography. Keep lighting, angles, and editing consistent. If you’re using Lightroom, create and save presets to maintain a cohesive look across all images. This helps strengthen your restaurant’s visual branding.
What’s the best way to showcase my menu photos online?
Online menus are perfect for displaying your food photography. Platforms like Menubly make it easy to upload and organize your photos in an interactive format. Ensure your images are properly sized and optimized for quick loading while maintaining quality.
Taking pictures of your menu items is more than just a marketing task – it’s an investment in your restaurant menu‘s success. With the right techniques and tools, you can capture photos that make your dishes irresistible to potential customers. Whether you’re just starting to add photos to your digital menu formats or looking to upgrade your existing images, remember that quality food photography can significantly impact your menu’s purpose and effectiveness. In today’s digital-first dining culture, compelling food photography isn’t just nice to have – it’s become an essential part of modern menu evolution.